For now I am way to tired to actually start a project of any kind, but you know how I can't help myself, so I started on my sisters project. Ashley has this super awesome natural pine armoire that she plans to use in her new nursery and everyone at home is promising to paint it for her. This is just in case they need a little help. . .
*Found on the blog www.thenester.com
Painting Pine Furniture
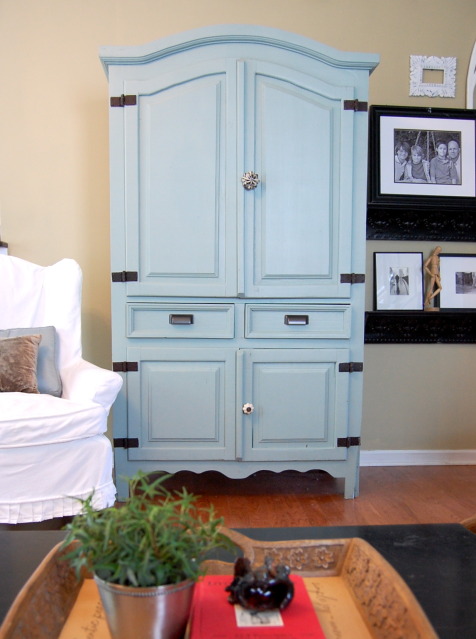
This is a repost from July 2009, but it’s one of the most common questions I get asked:: “where did you get your armoire?”
I recently painted my yard sale purchased, pine armoire.
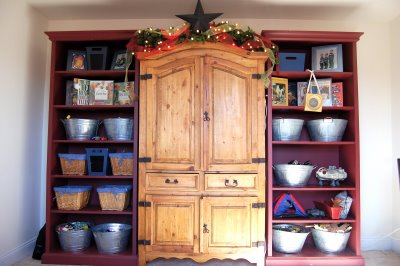
This is how it looked before. I think about 25% percent of houses in my neighborhood have a piece of furniture that looks like this. I love how warm it was and how it was such a great victim to withstood the abuse of 3 boys.
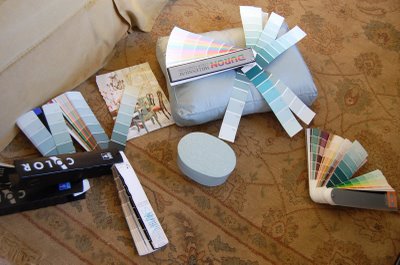 I’ve wanted to paint this piece since I saw Meredith’s painted armoire {here’s her before}. So, naturally, two weeks before we moved, I grabbed a pillow and an oval box for color inspiration and then all my color wheels and found a color I thought would be a good choice.
My goal was to have a robin’s egg blue but not a bright one like Martha leans toward but a dirty, natural feeling blue. Also, since I was painting over pine that had plenty of knots, I wanted to make sure it was a color that would look ok if and when the knots bleed through the paint. Because bleeding always seem to happen with knots.
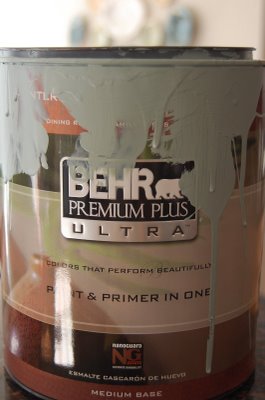
I have painted raw pine in the past. I’ve used coats of primer and paint and within weeks, yes, WEEKS the knots start to bleed through. This time, I tried Behr Paint and Primer in One. {And wouldn’t it be nice if I were getting a big fat check from Behr since I’m broadcasting how much I love this product? I am not. Behr has no idea what a Nester is.}
So, it’s been almost 6 weeks now and so far, no bleeding. I will tell you if and when I see any signs of knots coming through. And if and when they do come through, I will be ok with that because I picked a color that will look even better with knots.
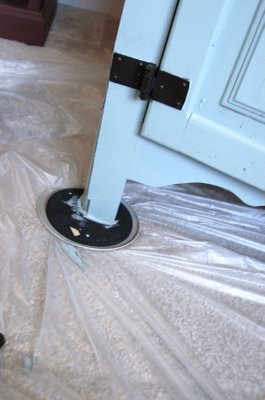
Here’s how I, the world’s most horrible, impatient painter, painted my armoire. And it turned out great.
1. Put the furniture on movers {those round things} and put plastic on the ground and move the armoire onto the plastic away from the wall. I did this all by myself thankyouverymuch. I think I even left the TV plugged in.
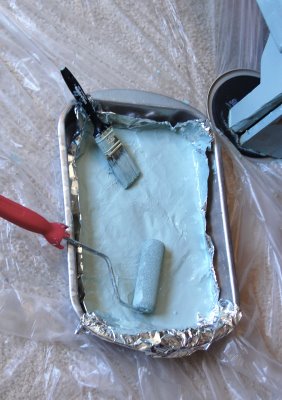
2. Get your professional paint roller holder thing and line it with your professional liner. Cake pan and aluminum foil.
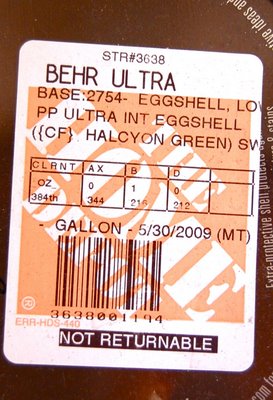
3. Get your paint. Here’s the formula for what I used if you must have it. I think I would have been happy with any of the 20 colors I choose from. Usually, when people try to pick a robin’s egg they go waaaay too turquoise. You almost want a gray. Then, when you put the color next to gray it should look robin’s egg. {216 is the bottom number under the “B”}
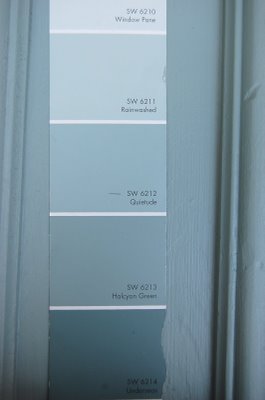 I used Sherwin Williams Halcyon Green 6213. But remember, you really cannot tell what paint colors truly look like by looking at a computer screen. And I adjusted this photo so you could read the words so, if you think you would like it please get a sample first. In real life, the color is more greenish grey than what you see in the photo on my computer. Quietude, the one above also looks fantastic. I like the eggshell finish. I don’t like it really shiny so eggshell is a good choice for me. Why did I do a color match? Because I decided to paint this the same day I painted this. I didn’t have a Behr color wheel and I didn’t want to go to Home Depot, grab colors then come home and decide. Which is how you must do it. Never decide a color in a florescent lighted store. You need to choose it in the room where you will be using the color.
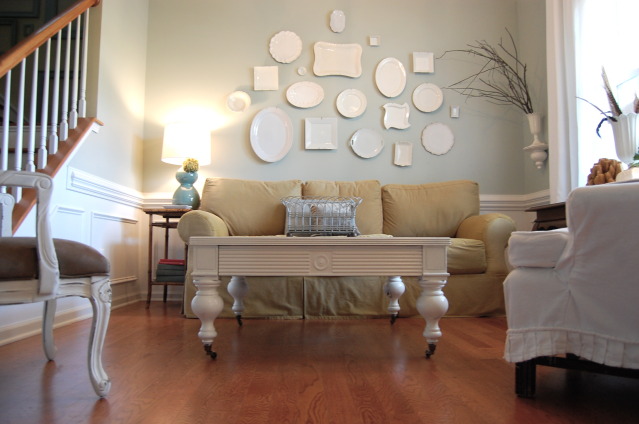
And for the record, the color in our front room is Sherwin Williams Comfort Gray. It’s a more watery, lighter, gray blue than the deeper more intense blue/green Halcyon Green.
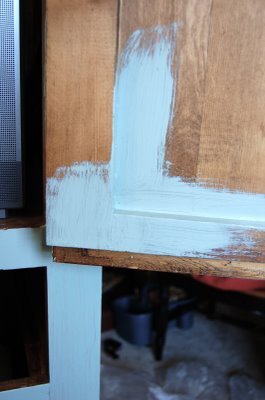
4. Start with a brush and do the corners. Or start with a roller and do the sides. I don’t really have a set way. I did wipe down the piece with a damp cloth first too, I guess I should add a number in for that. But other than knocking off the dust, no prep work.
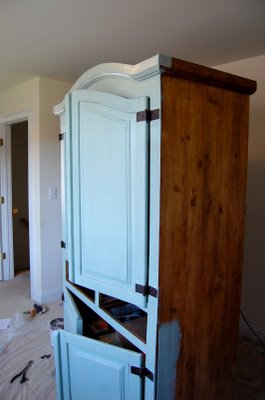
5. I took the drawers out and left them for later. I also removed the handles with pliers because I didn’t want to mess with painting around them. I picked out some I liked better.
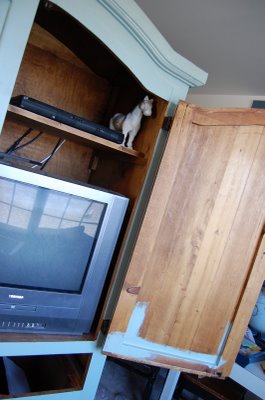 6. Decide where you want the paint to stop. You can paint all of the inside or be lazy like me and just do the doors. I simply painted whatever I could with the roller and let it stop at the edges. No brushing meticulously for me. I only used the brush in the tight corners and around the hinges.
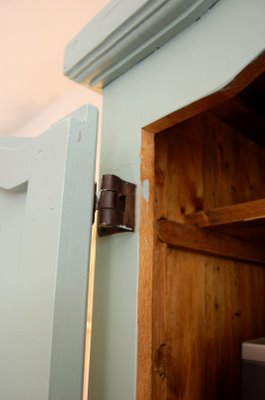
7. I admit I didn’t do the best painting job ever to grace the internet. I painted three coats, I waited a few hours between coat one and two and then overnight before I did the third coat. I think it took me maybe 4 hours total from clean room to clean room.
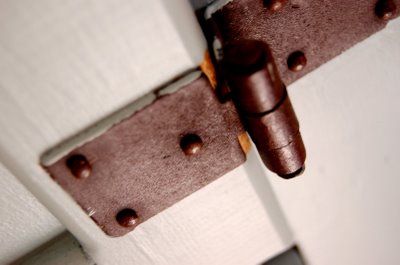
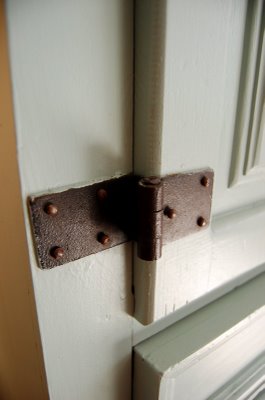
8. I liked the fact that I had big square hinges to work around. I got a little paint on them but so? I’m not expecting the paint police anytime soon. They are busy arresting people who are too afraid to paint, because we all know that is a much bigger offense. And, yes, I left everything inside while I painted it.
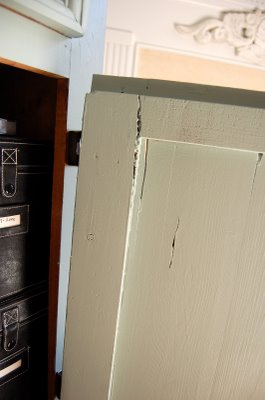 9. Why am I still numbering? Here are some close ups, I won’t bore you with my words…
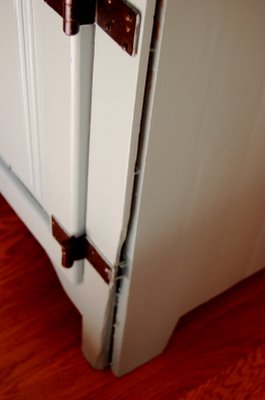
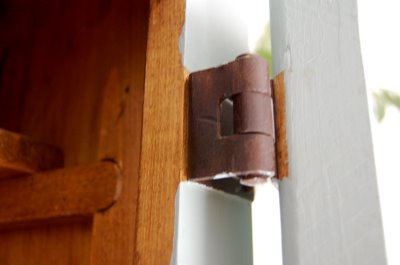
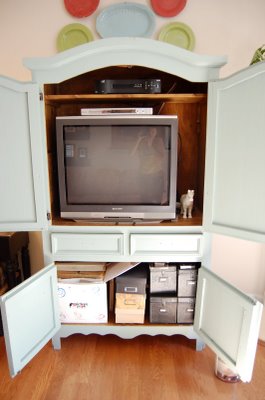
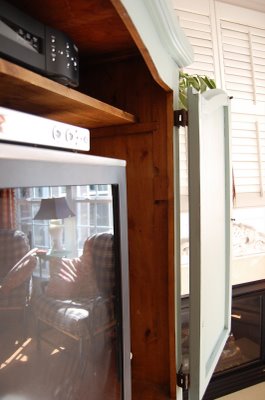
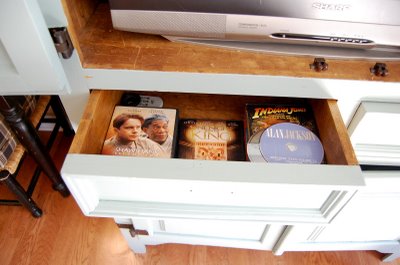
I love that you can still see the wood when you open it up.
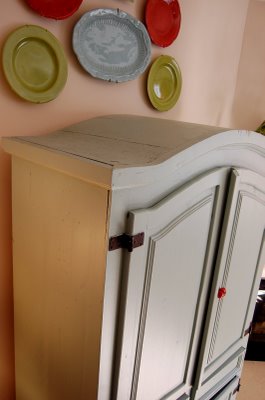 Don’t forget to paint the top. I didn’t paint the back.
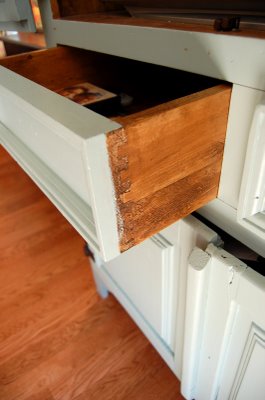
Where I decided to stop the paint. There’s no wrong.
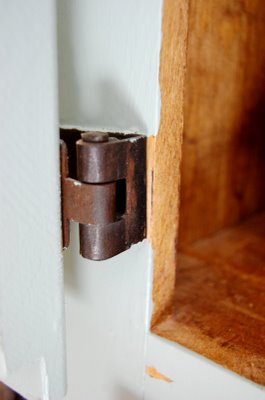
I didn’t let the paint dry long enough before I shut the doors so there is a little paint that rubbed off. I could fix it but I probably never will. {One year later~still haven’t}
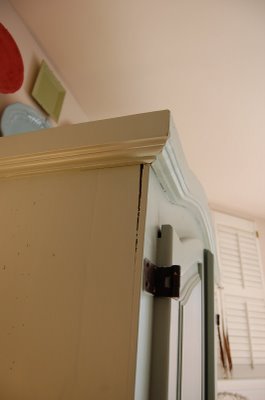
There you have it. I feel like every time I see this piece it thanks me for taking the time for painting it. It was so quick and simple. My only regret? I should have painted it years ago.
Want to paint your own furniture but want to do a little more professional job? My friend Mandi from Altar’d furniture wrote an ebook that will tell you all the tricks and tools that she uses in her business {she sells painted furniture}. For $10 you can get her secrets and step by step real, correct processes to paint something that’s nicer than my yard sale armoire.

click that button to find out more
One year later update:: I’m really surprised that NO KNOTS have shown up through the paint. It’s like a painted pine miracle. I still love the color and it’s held up great. Twice, when I’ve had the paint out for anther project, I’ve put a little paint on my finger and touched up a few tiny places where the paint has rubbed off {mostly caused by me moving furniture}. I still LOVE the color and the piece painted.
Cheers,
Tay

No comments:
Post a Comment